Soap scum is a tenacious substance that can slowly accumulate on surfaces in bathrooms and kitchens over the course of months and years. Trying to remove layers of set-in soap scum that has been left to linger for too long can seem daunting.
While it can take some serious scrubbing, it is possible to banish years of soap scum safely and effectively. In this comprehensive guide, we’ll go over:
- Where soap scum comes from
- Identifying different types of soap scum
- DIY cleaning solutions for tackling thick soap scum
- Tools and scrubbing methods that get deep-down clean
- Cleaning around soap scum prone areas
- Preventing soap scum going forward
- Knowing when to call for professional soap scum removal
With the right combination of techniques and elbow grease, you can get your surfaces looking fresh and residue-free again.
What is Soap Scum Exactly?
Before looking at removal, let’s quickly go over what soap scum is and where it comes from. Soap scum refers to the gunky film and spots left behind after soap combines with mineral deposits in hard water.
Components of soap scum include:
- Mineral salts like calcium, magnesium, and silica
- Soap fats and oils
- Toiletries like shampoo, body wash, and shaving cream
- Dead skin cells and hair
- Hard water chlorides and sulfates
- Dirt particles
This mixture sticks to non-porous surfaces in humid areas like showers, tubs, sinks, faucets, and tile. Improperly rinsed soap contributes to faster buildup.
Identifying Types of Soap Scum
Not all soap scum is created equal when it comes to removal difficulty. Here are some common soap scum scenarios:
- Light soap film – A light coating that appears streaky when wet. Easier to remove.
- Sparse spots – Isolated patches of residue. Still penetrable by cleaning solutions.
- Thicker accumulated layers – Heavier soap film buildup over time. May need extended soaking but still scrubbable.
- Hard water scale – Mineral deposits bind with soap scum. More difficult to dissolve and scrub away.
- Grimy rings – Darker dirt stains where soap scum mixes with mildew. Require disinfecting.
- Greasy texture – Oilier scoum resulting from mineral oil-based shampoos or body washes.
Identifying which type you’re dealing with will guide your removal approach.
DIY Cleaning Solutions for Tackling Thick Soap Scum
Thick soap scum layers will likely need the power of chemical cleaners to dissolve the grime before scrubbing. Here are some effective homemade solutions:
- Vinegar – Plain white vinegar dissolves soap scum very effectively. Use undiluted or mixed 1:1 with water.
- Baking soda – Creates a mildly abrasive scrub when mixed with water into a paste. Helps scour off set-in scum.
- Vinegar and baking soda – This classic combo uses vinegar to loosen scum and baking soda to provide gentle scrubbing power.
- Borax – Dissolves soap film quickly. Use 1-2 tablespoons borax per quart of warm water.
- Lemon juice – The acidic citric acid cuts through soap scum. Squeeze lemon juice onto a wet sponge or add to vinegar.
- Hydrogen peroxide – Lightens and lifts away dingy soap scum. Combine with equal parts water.
Always test these homemade cleaners in inconspicuous spots first to ensure they won’t damage the finish. Now let’s look at tools and scrubbing methods.
Tools and Scrubbing Techniques for Removing Years of Grime
Once you’ve applied a DIY cleaner or commercial soap scum remover, some rigorous scrubbing is required to slough away the loosened grime.
- Abrasive scrubbers – Try scrubbing sponges, stiff nylon brushes, or scrubby cloths. Avoid anything highly abrasive that could scratch.
- Plastic scraper – Helps chip off thick chunks and edges of soap scum. Keep the angle flat to avoid gouging.
- Magic eraser sponges – These work well to scour especially tenacious scum spots and stains. Dampen before using.
- Steamers/pressure washers – Blast away thickly layered soap film once loosened by chemical solutions.
- Elbow grease – Be prepared to put some muscle into the scrubbing! Let cleaners sit to penetrate before scrubbing. Reapply cleaner and keep scrubbing until the area is clear.
Repeat soaking and scrubbing persistently to get rid of years of accumulated residue.
Effectively Cleaning Around Soap Scum Prone Areas
Certain areas tend to attract heavier soap scum buildup:
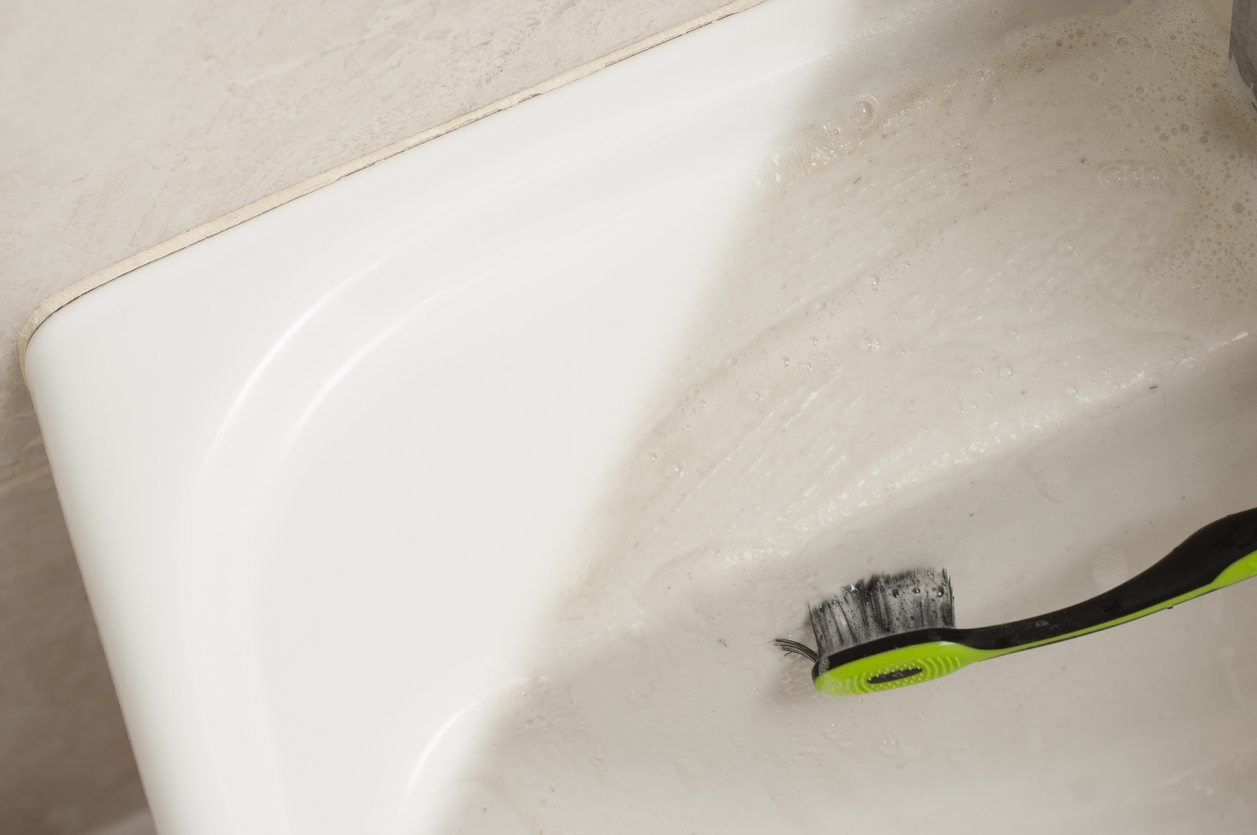
- Shower doors and tracks – Use a old toothbrush dipped in cleaning solution to scrub tracks. Rinse shower doors well after cleaning.
- Faucets and fixtures – Scrub crevices with an old toothbrush or dish wand. Rinse thoroughly.
- Showerheads – Remove showerhead and soak in a vinegar solution to dissolve deposits before scrubbing holes.
- Grout lines – Use an old toothbrush dipped in cleaner to scrub grout once tiles are clean.
- Drains – Clear soap debris from sink and tub drains so they drain properly after cleaning.
Targeting these soap scum hot spots prevents lingering grime and streaks.
Preventing Soap Scum Going Forward
Once you’ve finally conquered the layers of built-up soap scum, keep it from returning with these prevention tips:
- Use a water softening system or install filters on showerheads. This reduces the mineral content forming soap scum.
- Choose milder liquid cleansers instead of creamy or oil-based products that contribute to scum.
- Avoid bar soaps. The fats create more residue than liquid body washes.
- Rinse surfaces thoroughly after bathing to wash away all soap.
- Squeegee shower walls and wipe down surfaces after use.
- Keep bathrooms well-ventilated to discourage residue-trapping moisture.
- Clean thoroughly once a week to prevent accumulation.
With vigilant cleaning habits, you can avoid soap scum recurring.
Calling for Professional Help with Severe Soap Scum Issues
Though it is possible to remove years of soap scum buildup yourself with the right products and persistence, sometimes calling in the pros is warranted. Professional soap scum removal services are advisable if:
- You have attempted cleaning multiple times without success.
- The surfaces show signs of permanent damage or etching beneath the soap scum.
- Mold or mildew is present along with the soap scum.
- The accumulated film has a very hard, cement-like texture.
- You simply want to save the huge time commitment thorough soap scum removal requires.
Companies like Speed Clean Services have industrial-strength cleaners and tools that can conquer the most severe soap scum scenarios, restoring your surfaces to a fresh, residue-free state. Their experienced technicians can tackle even decade-old soap scum without the arduous effort and frustration of DIY cleaning.
Banish Soap Scum For Good
Don’t let years of soap scum make your shower and sinks look dingy and neglected. With the proper cleaning solutions, tools, and some elbow grease, you can clear away even thick accumulations of soap film.
Apply a DIY cleaner like vinegar or borax and let it penetrate before scrubbing vigorously with an abrasive sponge or brush. Target problem areas like fixtures and grout. Stay persistent and you’ll get your surfaces sparkling again.
For a faster, easier solution, call the soap scum experts at Speed Clean Services. Their commercial-grade cleaners and professional techniques will erase years of soap scum buildup quickly and thoroughly, saving you hours of labor. Reclaim your beautiful bathrooms and kitchens!
