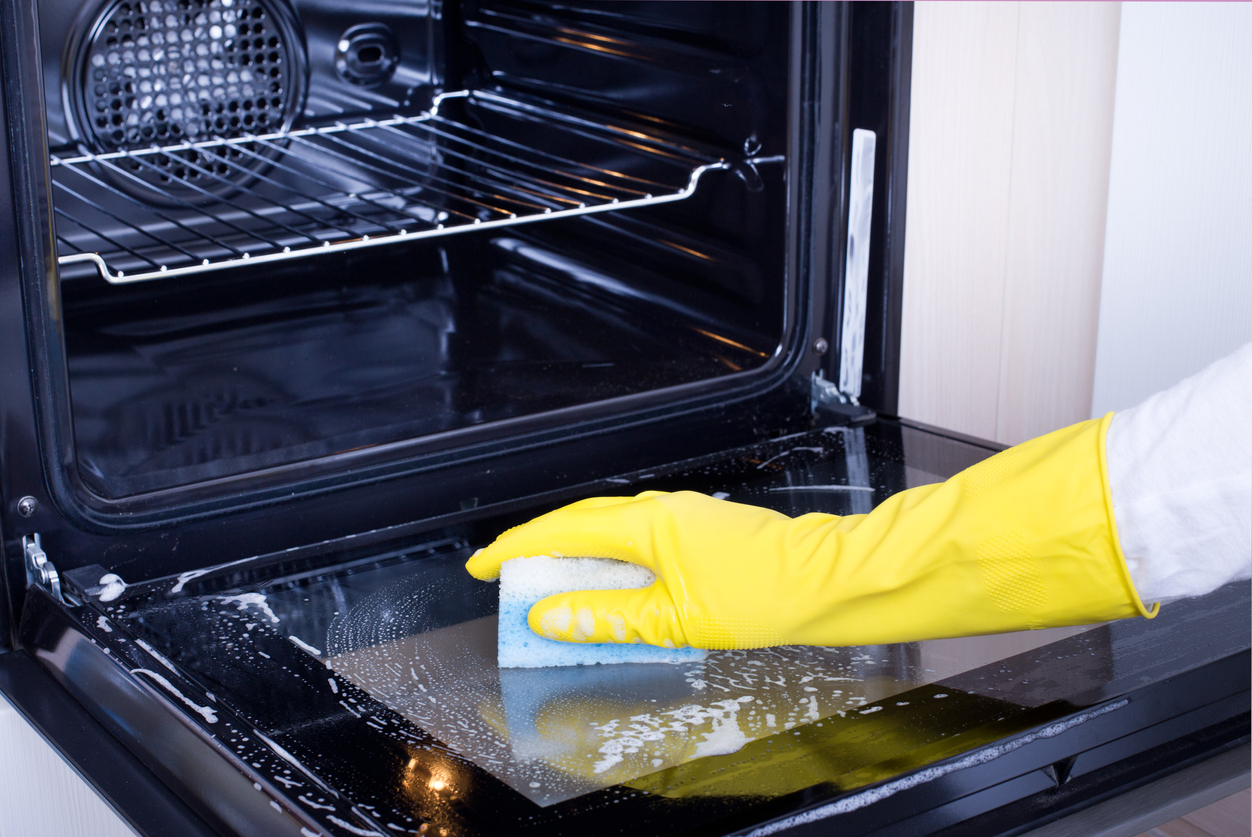
Gas ovens are a common appliance in many kitchens because of their quick heating and ease cooking. However, without regular cleaning, gas ovens easily accumulate burned-on food, grease buildup, and grime that can be challenging to remove.
Neglected ovens not only look dirty and unpleasant, they can spread bacteria and odors to your food. Learning how to clean a gas oven thoroughly keeps it looking and performing like new.
In this complete guide, we’ll cover:
- Why it’s important to clean gas ovens regularly
- Preparing for safe, effective oven cleaning
- Step-by-step instructions for cleaning oven exteriors, interiors, racks, and doors
- Using handy homemade cleaners and commercial oven products
- Extra tips for cleaning stubborn grime and grease
- Maintaining a clean oven between deep cleans
- When it may be time to call a professional for cleaning
With the right cleaning routines and products, you can restore your gas oven’s sparkling shine and keep it that way. Let’s get started with why regular oven cleaning matters.
Why It’s Essential to Clean Gas Ovens Regularly
While a chore that’s easy to skip, giving your gas oven a deep clean at least quarterly provides important benefits:
- Sanitization – Thorough cleaning removes bacteria that can spread illness through contact with food.
- Degreasing – Eliminating built-up grease prevents rancid odors and smoke from grease fires.
- Cosmetics – Clean, shiny ovens just look nicer for more enjoyable cooking.
- Cooking performance – Grimy, chemical-coated ovens heat foods unevenly.
- Safety – Cleaning prevents loose debris from catching fire or interfering with burner ignition.
- Equipment life – Regular upkeep protects your oven investment from deteriorating prematurely.
For optimal function and appearance, tackling oven grime regularly is well worth the effort.
Gas Oven Cleaning Tips and Precautions
Before getting started, keep these safety and preparation tips in mind:
- Review your owner’s manual for any special cleaning guidance for your model.
- Allow the oven to cool completely first if recently used. Hot surfaces can cause burns.
- Wear gloves and eye protection to protect from harsh chemicals.
- Remove oven racks, diffusers, and any detachable parts for easy access to interior surfaces.
- Ventilate your kitchen well by opening windows, turning on exhaust fans, etc.
- Never mix cleaning products together, as hazardous chemical reactions can occur.
- Test cleaners first in an inconspicuous spot to check for discoloration or damage.
Now let’s look at cleaning ovens from top to bottom.
How to Clean a Gas Oven Exterior
Start by tackling the oven’s external surfaces:
- Control panel – Wipe gently with a soft cloth dampened in warm, soapy water. Avoid getting water into buttons or knobs.
- Oven door – Use a stainless steel or glass cleaner and lint-free cloth on the outer door. Pay special attention to the handle and edges.
- Front vent trim – Loosen any stuck-on splatters with a scraper or old toothbrush. Then wipe down with a soapy cloth.
- Oven frame – Spray an all-purpose, non-abrasive cleaner onto the frame and sides. Wipe with a damp lint-free cloth.
Cleaning Inside a Gas Oven
Now let’s focus on the oven interior:
- Remove debris – Scrape or wipe out any large clinging pieces of food using a spatula, putty knife, or dry towel.
- Apply oven cleaner – Spray a foaming oven cleaner liberally over all interior surfaces. Avoid bare hands contact.
- Let sit – Allow the cleaner to soak for 5-10 minutes. Set a phone timer to avoid forgetting and letting the cleaner dry.
- Wipe clean – Use heavy duty scouring pads, steel wool, or abrasive scrubbing sponges to work away grime. Reapply cleaner and scrub repeatedly as needed.
- Rinse – Wipe all surfaces thoroughly with a water-dampened lint-free cloth to eliminate chemical residues.
- Dry – Finish by drying all interior surfaces well with a fresh lint-free cloth. Allow oven to air dry further with door open.
Top Methods for Cleaning Oven Racks
Oven racks easily accumulate burned-on grime. For sparkling clean racks:
- Soak – Place racks in a large garbage bag and cover with hot water and ammonia-free dishwasher detergent. Seal and let soak minimum 30 minutes up to overnight.
- Scrub – Using rubber gloves, scrub racks with a nylon brush or scouring pad to remove grime. Old toothbrushes work well for hard-to-reach areas.
- Rinse – Rinse racks thoroughly under hot running water to eliminate all soap residues.
- Dry – Dry racks completely with a lint-free towel. Place back in oven to ensure no moisture remains before replacing racks.
Soaking racks before scrubbing makes removing stubborn baked-on food much easier.
How to Clean Oven Window and Door
Gas oven windows and doors require some special attention:
- Remove door – Refer to your owner’s manual for proper door removal. This provides easier access.
- Clean inner glass – Use a glass cleaner safe for oven windows along with lint-free cloths. Avoid scratching glass.
- Do outer door – Spray an all-purpose cleaner onto door exterior. Wipe down with hot water and a soft scrubbing sponge.
- Clean inner door – Use a mild soap and water solution and lint-free cloth for the inside door. Don’t immerse in water.
- Dry thoroughly – Wipe any moisture away with a dry towel. Moisture can seep under door glass and cause fogging.
- Replace door – Remount the cleaned door right away to avoid misplacing parts or getting fingerprints on clean glass.
Take extra time cleaning oven doors to provide a crystal clear view inside.
Using Homemade Cleaners for Eco-Friendly Oven Cleaning
Want to avoid harsh chemical fumes and residues? Try these homemade oven cleaner recipes:
- Baking soda – Sprinkle baking soda liberally on oven bottom. Spray with water to form a paste. Let sit overnight before scrubbing.
- Vinegar – Fill a spray bottle with undiluted white vinegar. Spray onto oven surfaces, let set 10 minutes, then scour with steel wool.
- Sodium percarbonate – Mix 2 tbsp. with enough hot water to form a paste. Apply to oven walls and floors. Allow to set before rinsing and scrubbing. (Avoid skin contact.)
- Lemon juice – Squeeze lemon juice onto grimy areas and sprinkle with salt. Let sit 10 minutes before wiping away grime.
Always test natural cleaners on a small spot first to ensure they won’t damage your oven’s finish.
Dealing With Specific Oven Cleaning Challenges
You may need to modify techniques for extra-grimy ovens:
- Burnt-on grease deposits – Let a degreasing oven cleaner work for the maximum recommended time before scrubbing. Repeat as needed.
- Rancid odors – Sprinkle baking soda liberally over interior surfaces after cleaning. Leave overnight before wiping out.
- Heavily soiled oven vents – Use an old toothbrush and pipe cleaners dipped in cleaning solution to dislodge debris from vent openings.
- Hard water stains on glass – Apply white vinegar or lemon juice mixed with cream of tartar. Let sit briefly before scrubbing.
- Self-clean cycle failures – Manually clean using baking soda, vinegar, lemon juice and scouring pads. Avoid commercial oven cleaners.
Some ovens need extra attention to restore full cleanliness.
Maintaining a Clean Gas Oven Between Deep Cleans
To keep your freshly cleaned oven looking great longer:
- Wipe up spills promptly before they bake on.
- Use liners or foil under bakeware to catch drips.
- Always use the stove vent fan when cooking.
- Start meals at a lower temp to deter splattering.
- Clean the oven interior weekly using a steam mop or soapy cloth.
- Spot clean racks frequently using oven cleaner and a scrubbing pad.
- Replace worn or frayed oven gaskets and seals for a tight door seal.
With quick touch-up cleans, you can go longer between major oven scrubbings.
Is it Time to Call for Professional Oven Cleaning Help?
While DIY oven cleaning is effective with the right products and persistence, heavy-duty professional oven cleaning may be warranted if:
- Grime has completely baked on and burned to a hard black crust.
- Grease and food stains have accumulated for many years.
- You notice damage to oven surfaces beneath layers of grime.
- Self-clean cycles fail to restore cleanliness.
- You simply want to save the significant hands-on effort of deep oven cleaning.
Cleaning pros like Speed Clean Services have commercial-grade degreasers and power steamers that make short work of even severely neglected ovens.
Keep Your Gas Oven Looking Fresh and Clean
While gas ovens easily accumulate unsightly grime, grease and burnt-on food, restoring them to a spotless state simply takes using the right tools and cleaners. Follow these steps to keep your oven gleaming:
- Remove all detachable parts like racks and trays.
- Allow the oven to fully cool before cleaning if recently used.
- Apply a commercial oven cleaner or homemade solution like vinegar or baking soda.
- Let the cleaning agents soak before scrubbing with steel wool, scouring pads, etc.
- Rinse and wipe away all cleaner residues after finished.
- Replace racks and parts after fully drying the interior.
- Stay on top of cleaning weekly to prevent major buildup.
By following these tips, you can enjoy an oven interior that looks as good as new again.


